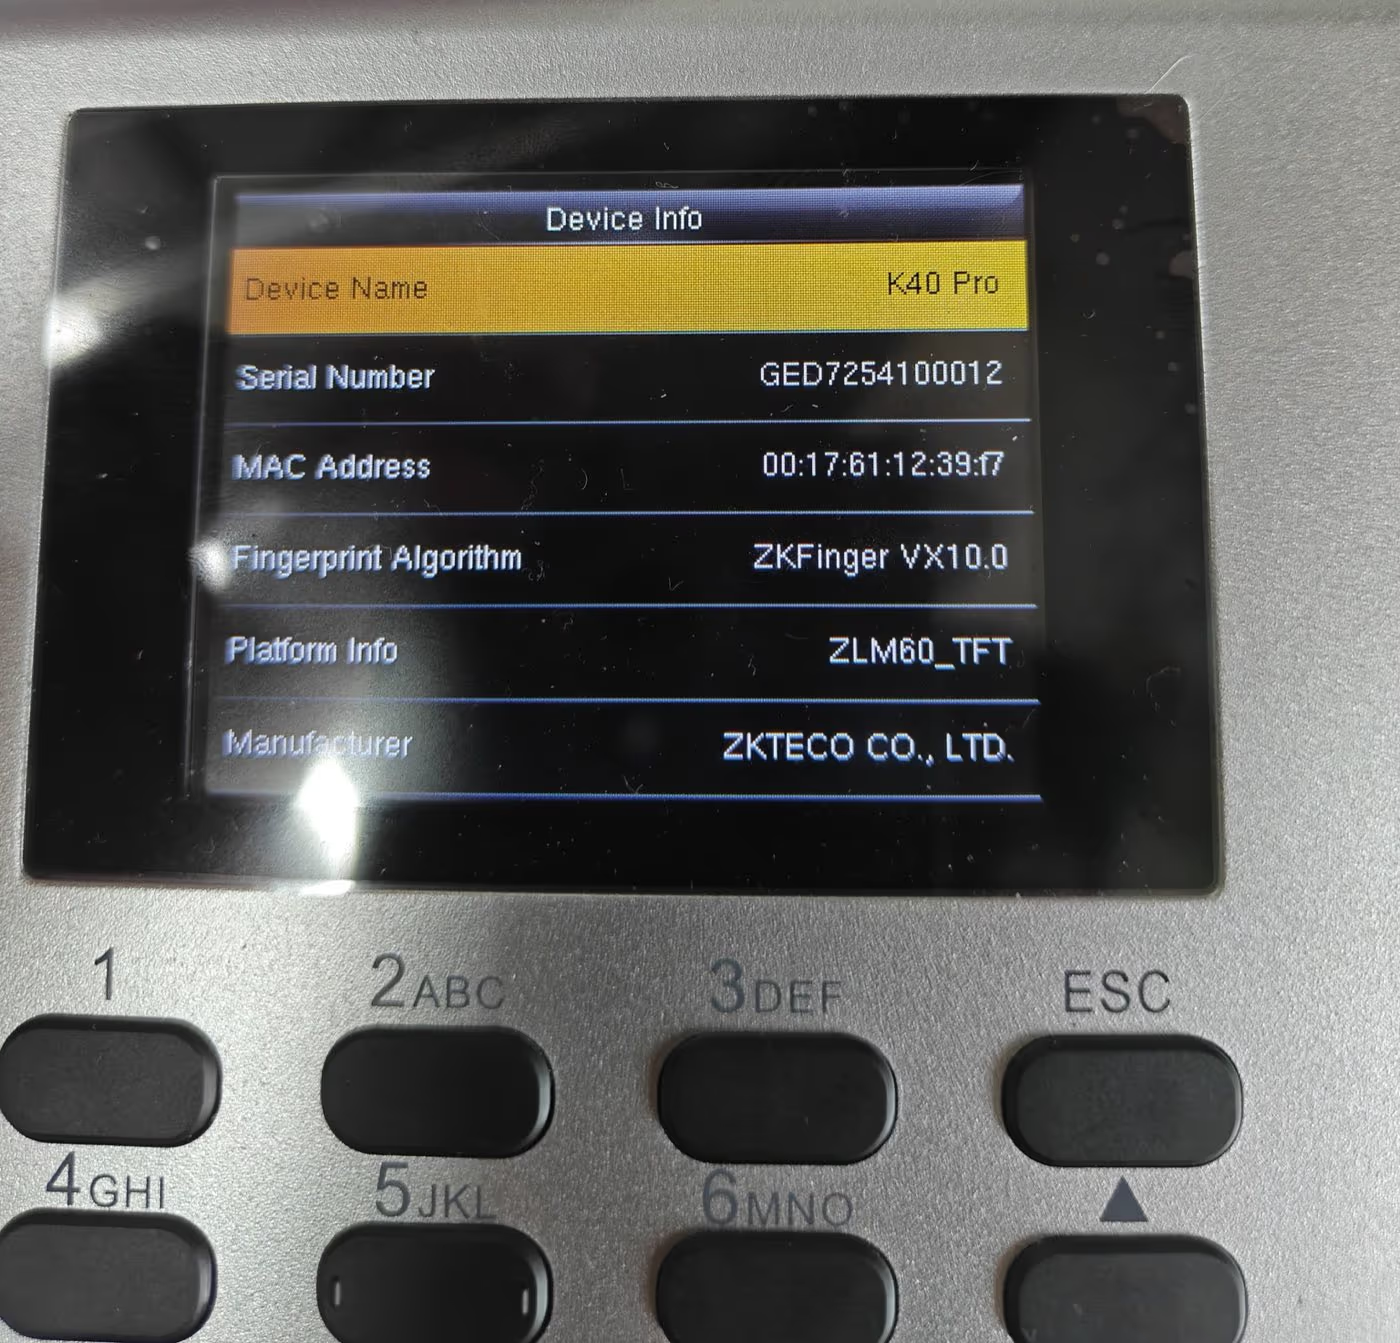

A distant uncle of mine runs a textile shop in Ahmedabad — three generations in the family, the kind of place where some of the staff have been there longer than I have been alive. Last year he bought an eSSL biometric machine, plugged it in, and spent four hours of a Sunday trying to figure out why the punches were not showing up on his laptop. The device beeped happily when his staff scanned. The software was open. Nothing was happening.
He eventually called me — the family's reluctant in-house tech support. One question solved it: what is the IP on the device, and what is the IP on the laptop? The device was on 192.168.1.201, his laptop was on 192.168.29.x. Different subnet. Twenty seconds of guidance over the phone, and the punches flooded in.
That story is most shops. The hardware works. The software works. The thing in between — the network — is what nobody bothered to explain in plain English. So if you have ever searched biometric machine se data kaise nikale, or wondered biometric device ko computer se kaise connect kare and walked away from old support articles more confused than you started, this guide is for you.
I will walk you through the three ways to connect a biometric attendance machine to a PC in India — LAN, USB pen drive, and WiFi — for the brands you will actually find on Indian shop counters (eSSL, ZKTeco, Realtime, Mantra). LAN is what I would recommend for 90% of shops. We will start there.
Quick answer: connect to a PC via LAN in 4 steps
- Plug the LAN cable into the biometric machine and your router (or directly into the PC).
- On the device: Menu → Comm → Network. Note the IP address (default is often
192.168.1.201). - On the PC: open Command Prompt and type
ping 192.168.1.201. A reply means you are connected. - In your attendance software (eTimeTrackLite or ZKAccess): add a new device using the IP address and Port 4370.
If that worked, skip ahead to the brand-specific software setup. If something went wrong — and something usually does the first time — the rest of this guide is exactly the page you need.
Method 1: connecting via LAN cable (recommended for shops)
LAN is the most stable way to connect a biometric attendance machine to a computer at a shop. Once it is set up, it stays set up. Punches flow in real time, the data does not corrupt, and you are not running to the device with a pen drive every evening.
Here is the catch: LAN is also the method where the most things can quietly go wrong. Not because it is hard, but because nobody walks you through the four little settings that have to match. So let us do them, one at a time.
Step 1: The physical connection
Plug an RJ45 Ethernet cable into the LAN port at the back of the biometric machine. Plug the other end into your router — the same one your shop's WiFi runs on — or directly into the laptop's Ethernet port if you do not have a router.
A Cat5e cable will do; Cat6 if you want future-proofing. ₹50–₹200 at any electronics shop in Ritchie Street, Nehru Place, or your nearest IT market. Do not buy the cheapest one for a long run — the signal degrades. If you are connecting directly to a laptop with no router, turn the laptop's WiFi off so Windows uses the wired connection.
Step 2: Finding the device's IP address
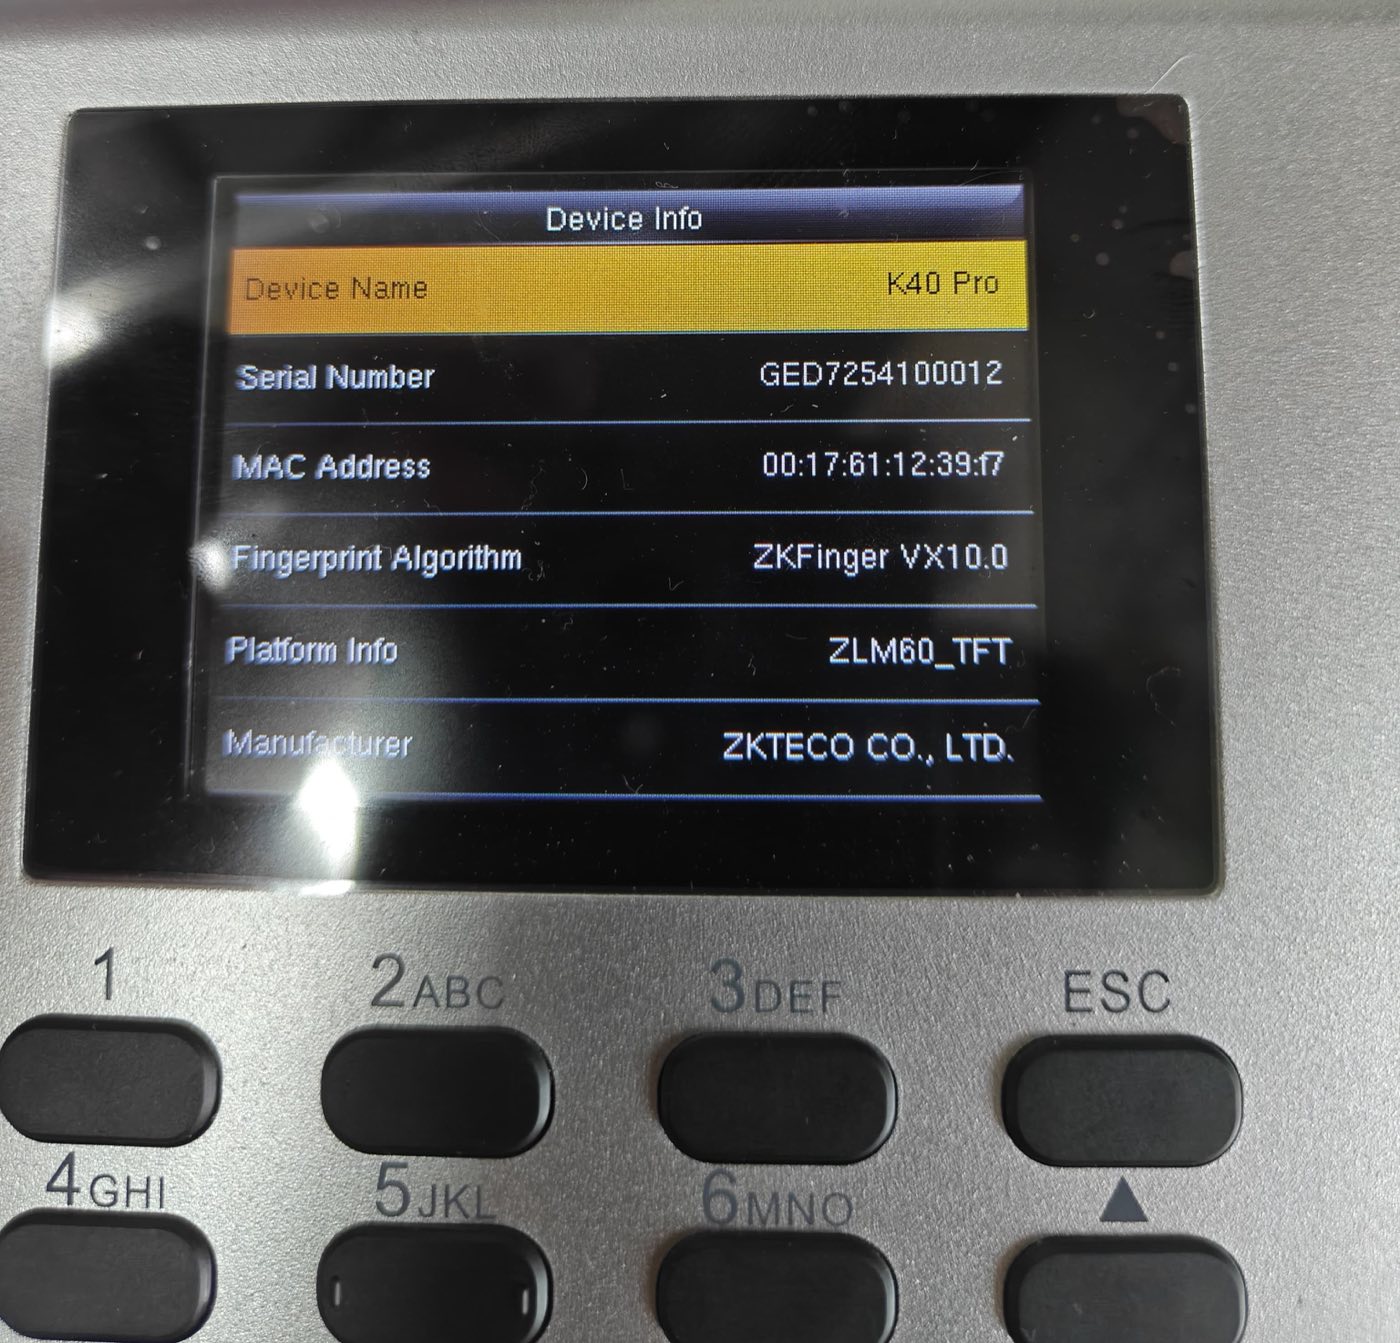
On the biometric machine, navigate to Menu → Comm → Network → IP Address.
The default IP on most eSSL devices is 192.168.1.201. ZKTeco's K40 ships with 192.168.1.201 too. Mantra devices vary by model. Write down the IP address — you will need it twice. While you are in that menu, also note the subnet mask (almost always 255.255.255.0) and the gateway — your router's IP, typically 192.168.1.1 or 192.168.29.1 depending on your ISP.
Step 3: Matching the subnet
This is the part that confuses everyone. The rule, in one sentence: the first three numbers of the device's IP and your PC's IP must match.
If your PC's IP is 192.168.1.5, the device's IP should be 192.168.1.x — anything from 2 to 254 except whatever the PC and router already use. So 192.168.1.201 is fine. But if your PC is on 192.168.29.10 (common with Jio routers) and your device is at 192.168.1.201, they will never talk. Different subnets are different neighbourhoods. The packets do not know how to get from one to the other.
You fix this two ways:
- Change the device's IP to match your network: Menu → Comm → Network → IP Address, set it to something like
192.168.29.201. - Or change the PC's IP to match the device: Windows → Settings → Network → Properties → Edit IP assignment → Manual.
For most shops, changing the device IP is easier. The router stays in charge of the rest of the network.
Step 4: Pinging the device
This is the test that proves the connection is real. On your PC, press Windows + R, type cmd, press Enter. In the black window, type ping 192.168.1.201 (use your actual device IP) and press Enter.
You should see "Reply from 192.168.1.201…" four times, with a time in milliseconds. That is success. If you see "Request timed out" or "Destination host unreachable", the subnet is wrong, the cable is loose, or the device is on a different IP than you wrote down. Back to Step 3.
The hardware works. The software works. The network in between is what nobody explains.
A note on what nobody tells you
Most tutorials act like the default IP will always be 192.168.1.201. In reality, some devices ship with 10.0.0.1, some shops changed it years ago and forgot, and some routers — looking at you, Jio Fiber — push everything onto a 192.168.29.x subnet that does not play with default device IPs. Do not assume. Check the device screen.
Need it connected today? The Rotabook team configures your biometric device for you as part of setup — remote-installed on your shop PC.
Check if Rotabook can set up your device remotely →Method 2: connecting via USB pen drive (for shops without a network)
If your biometric machine is at the front of the shop and your PC is in the back office with no router between them, LAN is fiddly. A USB pen drive is your fallback. It is slow, it is manual, but it works and it costs ₹100.
Step 1: Format a pen drive to FAT32
Use a small USB drive — 4GB to 16GB is more than enough. On your PC, right-click the drive in File Explorer, select Format, choose FAT32 as the file system, click Start. Most biometric machines cannot read NTFS or exFAT.
Step 2: Download the data on the device
Plug the pen drive into the USB port on the biometric machine. Navigate to Menu → USB Disk Manage → Download → Attendance Data. The exact wording varies slightly between eSSL and ZKTeco, but the path is similar. Wait until the screen shows "Copy Success" or similar, then eject the pen drive properly from the device menu. Do not yank it out.
Step 3: Import on the PC
Plug the pen drive into the PC. You will find a .dat or .xls file, usually named something like 1_attlog.dat. Open your attendance software (eTimeTrackLite for eSSL, ZKAccess for ZKTeco), look for Import Attendance Data or USB Import, browse to the file, and click import.
That is it. The catch: you will be doing this every day for the rest of forever. Which is exactly why most shops eventually move to LAN.
Method 3: connecting via WiFi (for modern devices)
Newer biometric machines — ZKTeco F22, MB360, some 2024+ eSSL models — support WiFi. If your device has it, it is a good option for shops where running a cable is messy.
The setup: Menu → Comm → WiFi → Search Networks, select yours, enter the password. After it connects, the device shows a WiFi icon and an IP address assigned by your router. From there, the LAN steps apply — same ping test, same software setup, same Port 4370.
The honest catch: WiFi can be unreliable in shops with thick concrete walls, a basement layout, or a router three rooms away. Real-time sync works great when the signal is strong; it stutters when it is not. For a ground-floor shop with a router on the same floor, WiFi is fine. For everyone else, LAN beats it.
LAN vs USB vs WiFi — which is best for your shop?
| Factor | LAN cable | USB pen drive | WiFi |
|---|---|---|---|
| Reliability | Excellent | Manual effort | Moderate |
| Real-time sync | Yes | No (batch) | Yes |
| Max distance | 100 m | Unlimited | 10–15 m |
| Cost | ₹50–₹200 | ₹100 | Built-in (newer models) |
| Best for | Shop counter setups | Remote PC, no router | Modern offices |
| Router required? | Optional | No | Yes |
For most Indian shops, LAN is the answer. WiFi if the device supports it and the router is close. USB only when neither of the above is feasible.
Brand-specific software setup
eSSL (eTimeTrackLite)
eTimeTrackLite is the desktop software that ships with most eSSL machines. It is free, but creaky. To add a device:
- Open eTimeTrackLite as Administrator. Right-click the icon, select "Run as administrator." The non-admin version hides half the menus.
- Go to Device Management → Add Device.
- Fill in — Device Name: anything memorable ("Front Counter"); IP Address: the device IP from earlier (e.g.,
192.168.1.201); Port:4370; Communication Password: leave blank unless you have set one (most shops have not). - Click Save, then Connect Device.
If the status shows green, you are done. Click Download Attendance Logs and the punches come in.
ZKTeco (ZKAccess 3.5 / BioTime)
ZKTeco's software is similar in concept but more polished. The newer BioTime is what shops buying ZKTeco machines in 2026 should use; ZKAccess 3.5 is the older flavour that ships with the K40.
- Open ZKAccess or BioTime.
- Device → Add Device.
- Fill in — Device Name: your label; IP Address: the device IP; Port:
4370(same default as eSSL). - Click Synchronize Time to align the device clock to your PC.
- Real-Time Monitoring or Get All Transactions to pull punches.
ZKTeco also supports ADMS push, where the device pushes punches automatically to a server — no manual polling needed. That is the better path if you are moving off older desktop tools, and it is the one Rotabook uses over your local network. More on it in our comprehensive attendance software for ZKTeco devices guide.
Troubleshooting: why won't my biometric device connect?
This is the section you will actually re-read at 9 PM on a Saturday when nothing works. Five most common issues, in the order you should check them.
Issue 1: Software shows "Device Offline" or won't find the device
The number one cause is a wrong IP address or a subnet that does not match. Check the IP on the device screen (Menu → Comm → Network) against your PC's ipconfig — the first three numbers must match — and reseat the cable firmly at both ends.
If your eSSL device was already working and now shows offline, see our dedicated eSSL device offline troubleshooting guide.
Issue 2: Ping fails — "Request Timed Out"
Ping fails when packets cannot reach the device. Almost always one of:
- Subnet mismatch. Fix the IPs (Step 3 of Method 1).
- Firewall on the PC. Windows Defender occasionally blocks ICMP ping. Turn it off temporarily (Control Panel → Windows Defender Firewall → Turn off) to test, then turn it back on.
- Router DHCP conflict. Two devices fighting over the same IP. Reboot the router; it usually re-assigns cleanly.
Issue 3: SDK Register Failed / RD Service error (eTimeTrackLite)
eTimeTrackLite throws this when the Windows service it needs is not running or lacks permissions. Fixes, in order:
- Right-click eTimeTrackLite → Run as Administrator. Solves it 70% of the time.
- Open Services (
services.msc), find RD Service, right-click → Start. - If RD Service is not installed, download the latest version from eSSL India's official site and reinstall.
- Disable antivirus temporarily during install. Quick Heal in particular blocks the RD Service installer silently.
Issue 4: Punches not pulling even though the device shows "Connected"
You are connected, but no data arrives. Three usual suspects:
- Click Synchronize Time first. Many tools refuse to pull logs from a device with the wrong clock.
- Set the date range correctly. Many defaults are "today" only — expand to the last seven days and re-pull.
- The device's transaction log is full (rare, but it happens around 80,000+ records). Clear old logs after backing up.
Issue 5: WiFi keeps disconnecting
If WiFi works for a day then drops:
- Move the router closer, or add a mesh node.
- Change the WiFi channel on the router. "Auto" often picks a crowded one.
- Assign a static IP to the device on the router's DHCP reservation page. Devices sometimes lose connection when DHCP renews their lease and the IP shifts.
Still stuck after the troubleshooting? The Rotabook team configures your biometric device for you as part of setup — remote-installed, usually in under 30 minutes.
Get setup help →The better way: automate attendance with Rotabook
Here is the honest part. Once you have connected your biometric machine to eTimeTrackLite or ZKAccess and clicked Download Attendance Logs for the thirtieth time on the 5th of the month, you will notice something. The connection part was the easy bit. The hard part is what comes next.
Desktop software shows you punches. It does not calculate net salary. It does not split overtime. It does not produce a Shop & Establishment Act–compliant register when an inspector walks in. It does not handle multiple outlets.
That is why we built Rotabook. It is on-premise shop software that syncs your biometric device over the shop LAN. It pulls punches from the same biometric machines you already own — eSSL, ZKTeco K40, MB360, Realtime — in real time. No daily downloads. No "RD Service failed" errors. The same data feeds payroll, so it calculates overtime for your shop staff in India, generates payslips, and produces statutory registers in one click.
Setup takes about 30 minutes, remote-installed by our team on your shop PC. Your data stays on your PC, not our server. If you want the broader buying lens before you decide, see our attendance system for small retail shops in India guide and the best biometric attendance machine in India 2026 post.
Tired of downloading attendance by hand?
See how Rotabook automates daily LAN sync →Questions shop owners ask me
How do I connect a biometric device to a computer without internet?
Use a direct LAN cable (a regular Ethernet cable; modern PCs auto-detect crossover) between the device and the PC. No router or internet is needed. Just make sure both are on the same subnet — the first three numbers of the IP match. Alternatively, use a USB pen drive (FAT32 formatted) to transfer data manually.
Which cable is used to connect a biometric device to a computer?
A standard RJ45 Ethernet cable (Cat5e or Cat6) is the right one — ₹50–₹200 depending on length. For a direct PC-to-device connection without a router, a regular cable works on modern hardware. Older PCs used to need a crossover cable, but auto-MDIX has made that obsolete.
How do I download attendance data from a biometric machine?
Connect via LAN, open your attendance software (eTimeTrackLite for eSSL, ZKAccess for ZKTeco), go to Device Management → Download Attendance Logs. Data transfers in seconds. If LAN is not set up, use a USB pen drive: Menu → USB Disk Manage → Download → Attendance Data on the device, then import on the PC.
Can a biometric device work without a computer?
Yes. The device stores punches locally, typically 50,000 to 100,000 records depending on the model. But you will need a computer (or a local software hub like Rotabook) to generate reports, calculate salary, and manage employees. The device alone is a fancy attendance register.
What is the default IP address of an eSSL biometric device?
Most eSSL devices ship with 192.168.1.201 and communicate on Port 4370. You can verify this on the device under Menu → Comm → Network. Some older devices use 10.0.0.1. Always check the screen rather than assume.
How do I reset a biometric device to factory settings?
Navigate to Menu → System → Reset (or System Info → Restore). Enter the admin password — the default is usually 0 or 123456. Warning: this erases all fingerprint templates and punch data. Download logs first.
This guide explains a technical process; it is not professional IT advice. If you are setting this up in a regulated environment — say a pharmacy chain handling patient data — engage a network professional.